How to Install Skype for Business for Windows
Below are installation instructions for Skype for Business for Windows.
- Go to https://portal.office.com
- Sign in using your Alfred University Credentials
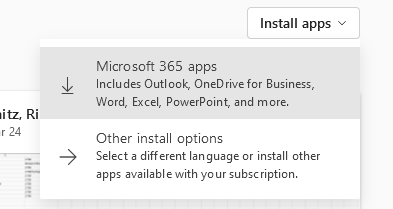
- Click on the “Install apps” button at the top right of the webpage

- Click “Other install options”
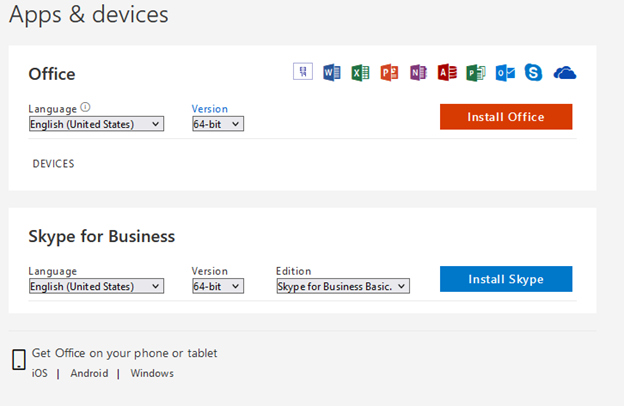
- Click “Apps & devices”

- Click "Install Office” to install the entire office suite (including Skype for Business) or click “Install Skype” to just install Skype for Business.